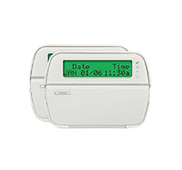
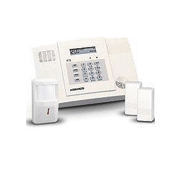
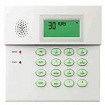
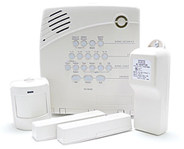
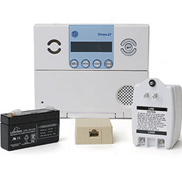
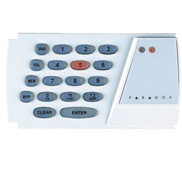
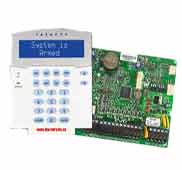
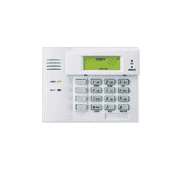
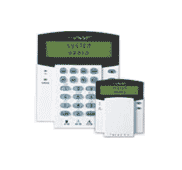
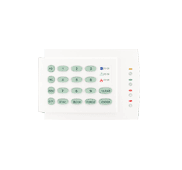
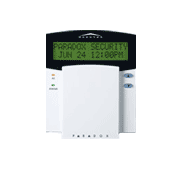
USER FUNCTION for DSCSystems Click on a topic for more information.
How To Test Your Alarm System Locally
If you would like to verify that your Power, battery and siren are fully functioning, you can perform a local system test in the user menu section of your alarm system. Press [*][6] followed by your 4 digit [master code] and press [4]. The panel will perform the following; activate the Siren, keypad buzzer and all keypad status lights for 2 seconds, test the backup battery and transmit a reporting code to the central station.
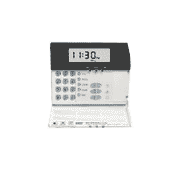
How To Program Time and Date
To Program Time and Date you will have to enter the user menu section of your alarm system. Press [*] [6] and your [master code]. Now press [1] and enter the time and date using the following format [HH:MM] [MM/DD/YY]. Program the time using military standard, e.g., 8:00 pm = 20:00 hours. Press [#] twice to exit.
Alarm System Trouble Light Conditions
Trouble Light With Keypad Beeping To view the trouble press [*][2] and make note of which zone light comes on. Below is a detailed list of all possible troubles on your system. Trouble [1] Service Required – This light will be on if any of the following trouble conditions are detected on the panel: Low Battery, Bell Circuit, System Trouble, System Tamper, System Supervisory. To determine what trouble you have press [1] again to view the specific trouble. If light 1stays on, it indicates you have a low battery condition, and need to replace your system battery. If another number shows on your keypad, please contact Safetech Technical Support.
Trouble [2] AC Failure – This trouble indicates that AC power is no longer being supplied to your system. You can check that the transformer has not been unplugged, or that any service is being done to the power in your area. If the problem persist, contact technical support for further assistance.
Trouble [3] Telephone Line Trouble – The telephone connection to the control unit is constantly being monitored to ensure your phone line is not being tampered with. If this trouble is present, make sure you have a dial tone on your phone line, ensure that your phone company is not working on the phone lines, as well as making sure no other devices are tying up the line like a fax machine, or DSL modem.
Trouble [4] Failure to Communicate (FTC) – This trouble is generated when a signal transmissions fails to reach the central station. The system will attempt a number of times to send a signal, after all attempts have failed to reach the central station, it will display this trouble. This trouble may appear in conjunction with Trouble [3]. Perform all the steps for Trouble [3], if the trouble persists, please contact SafeTech technical support.
Trouble [5] Zone Fault – This trouble indicates if any zone on the system is currently in a trouble condition. Press [5] on the Keypad, and it will indicate what zone is in trouble. Once you know which zone number is in trouble, check that the physical contact has not been tampered with for the particular zone, if everything appears to be normal, contact SafeTech technical support.
Trouble [6] Zone Tamper – This trouble will only be generated when a tamper condition is detected on a zone in your system. Press [6] to view what zone is in tamper. Once you have verified the zone, check to see if the contact has been physically tampered with, if everything appears normal, contact SafeTech technical support for further assistance.
Trouble [7] Device Low Battery – This trouble will only be generated when a Wireless device on the system has a Low Battery. Press [7] to view which wireless zone has the device low battery, once you view which zone has the low battery you may replace it, or call safetech technical support for further assistance.
Trouble [8] Loss of Time – This trouble will appear when the time and date need to be set on your system. To set your time and date, press [*] [6 ] [master code] [1] followed by the time in military format ie. 1330 011010 = 1:30 pm January 1 2010.
To stop your alarm from beeping, press [#] after pressing [*][2] to diagnose your trouble.
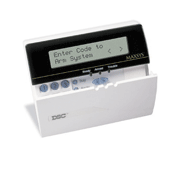
How to Disarm Your Alarm System
The user must enter through a door programmed as Delay. Upon entering, the keypad will emit a steady tone, and emit a pulsing tone during the last 10 seconds of entry delay to alert the user to disarm the system. Enter a valid user code to disarm the system. If an alarm occurred while the panel was armed, the Memory light and the zones that went into alarm will be flashing, or the keypad will display ‘Alarm in Memory’. Press the [#] key to return the keypad to the Ready state.
How To Stop Your Alarm From Beeping
Keypad Beeping Beeping from your keypad indicates that there is a trouble condition. To stop your alarm from beeping, press [*][2][#].
How To Arm Your Alarm System
Away Arming The Ready light must be ON to arm the system. If the Ready light is OFF, ensure all protected doors and windows are secure or bypassed. To arm the system in the Away mode, either press and hold the Away function button for 2 seconds or enter a valid user code and leave the premises through a door programmed with entry delay. Upon arming, the Armed light will turn ON. If a user code was used to arm the system and Stay/Away zones are programmed, the Bypass light will turn ON and will turn OFF when a door programmed as Delay is violated. If the Audible Exit Delay option is enabled, the keypad will beep once every second during the exit delay, and three times a second during the last 10 seconds to alert the user to leave. Stay Arming The Ready light must be ON to arm the system. If the Ready light is OFF ensure all protected doors and windows are secure or bypassed. To arm the system in the Stay mode, either press and hold the Stay function button for 2 seconds or enter a valid user code and stay within the premises do NOT violate a door programmed as Delay. Upon arming, the Armed light and Bypass light will turn ON. If the Stay function button is used, the keypad will not beep during the exit delay. If a user code was used, the keypad will beep if the Audible Exit Delay option
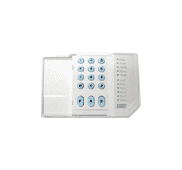
How To Program A User Code
LED Keypad: Press [*][5] followed by the Master Code. The Program light will flash. The keypad will turn ON the corresponding zone light to indicate a user code is programmed. Enter the 2-digit user to be programmed. The zone light will flash. Enter a new 4 digit user code or press [*] to delete the user code. After the user code is programmed or deleted, you may enter another 2-digit user to be programmed or press [#] to exit. LCD Keypad: Press [*][5] followed by the Master Code. The keypad will display the first user (user 01) and include the letter ‘P’ in the bottom, right corner if the user code is programmed. Scroll to the appropriate user and press the [*] key to program the user, or enter the 2-digit user number. Enter a new 4 digit user code or press [*] to delete the user code. After the user code is programmed or deleted, scroll to another user or press [#] to exit.
How To Change Alarm System Master Code
LED Keypad: Press [*][5] followed by the Master Code. The Program light will flash. Enter 40 and the new 4 digit master code. Press [#] to exit. LCD Keypad: Press [*][5] followed by the Master Code. Scroll to user 40 and press [*], or enter 40, enter new 4 digit master code. Press [#] to exit.
How To Delete User Code
LED Keypad: Press [*][5] followed by the Master Code. The Program light will flash. Enter the 2 digit user you would like to delete, press [*] to delete user code, then press [#] to exit. LCD Keypad: Press [*][5] followed by the Master Code. Scroll to the user you would like to delete, or enter the 2 digit user number. press [*] to delete, press [#] to exit.
How To Bypass A Zone Code
LED Keypad: Press [*][1] to enter the bypass mode. The Bypass light will flash. The keypad will turn ON the corresponding zone light to indicate a zone is bypassed. To bypass or unbypass a zone, enter the 2-digit zone number. Once the correct zones are bypassed, press [#] to exit. The Bypass light will be ON if any zones are manually bypassed. LCD Keypad: Press [*][1] to enter the bypass mode. If the Code Required for Bypass option is enabled, enter a valid user code. The keypad will display ‘Scroll to View Zones’. The keypad will display the programmed zone labels for the zones and include the letter ‘O’ in the bottom, right corner if the zone is violated or the letter ‘B’ if the zone is bypassed. Scroll to the appropriate zone and press the [*] key to change the bypass status, or enter the 2-digit zone number. Once the correct zones are bypassed, press [#] to exit.